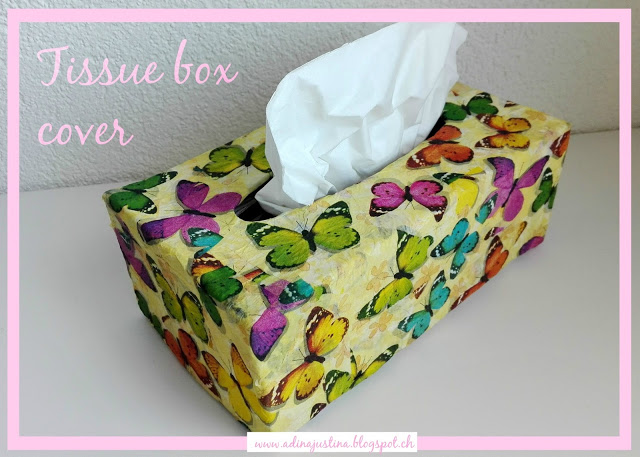
After the last post, which was on a little more serious topic, today I´d like to lighten the athmosphere a bit and therefore I bring you another of my DIY tutorials. Before going into making Christmas decorations, I decided to make a decorative tissue box cover. A this tutorial I´d like to show you in today’s post.
To make this box cover I used basically the same process as when I was doing organizer from cereals box (you can find the tutorial here), therefore I used decoupage technique.
Co potřebujete/ Supplies
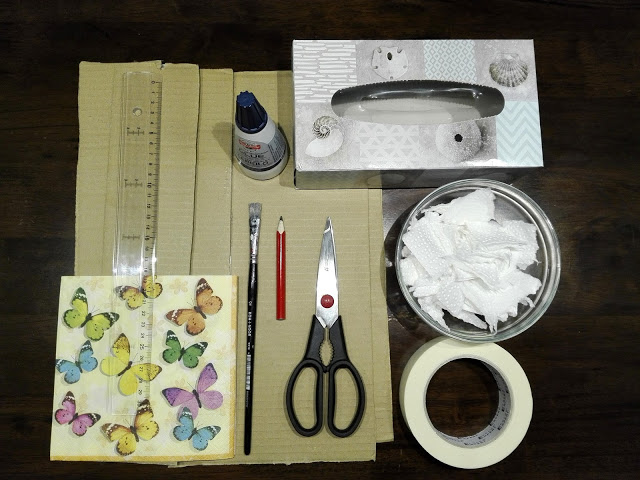
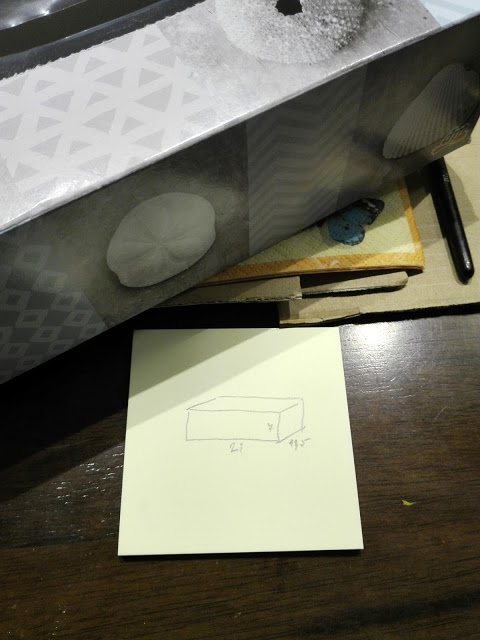
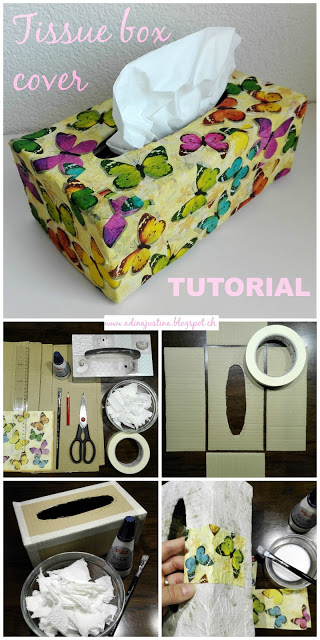
- prázdnou krabičku od papírových kapesníků (já jsem použila ty z DM) / empty box of tissues (I used a DM brand tissue box)
- lepenku, ideálně z krabice na balíky (dobrá výmluva objednat si další boty :)) / cardboard (a good excuse to buy more shoes ;))
- papírová lepící páska / paper adhesive tape
- ústřižky z kuchyňských utěrek / snippets of kitchen towels
- ozdobné papírové ubrousky / decorated napkins
- lepidlo, pravítko, plochý štětec, tužku, nůžky a třpytkové lepidlo (nepovinné :)) / glue, ruler, flat brush, pencil, scissors and glitter glue (optional)
Krok 1 / Step 1
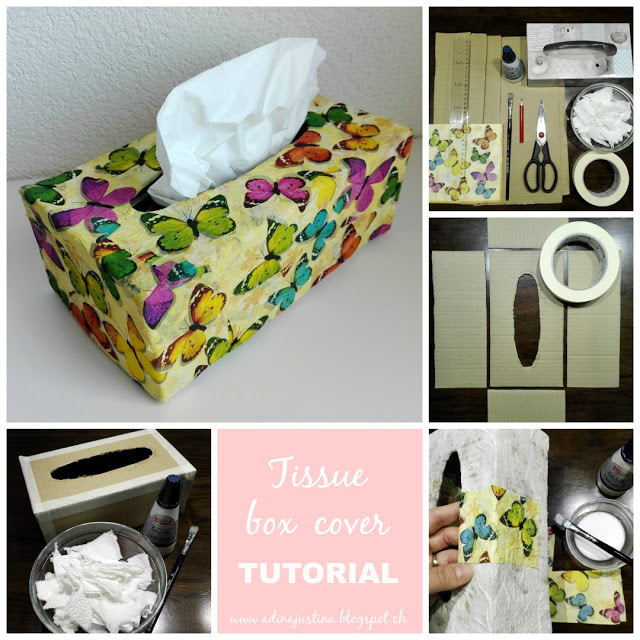
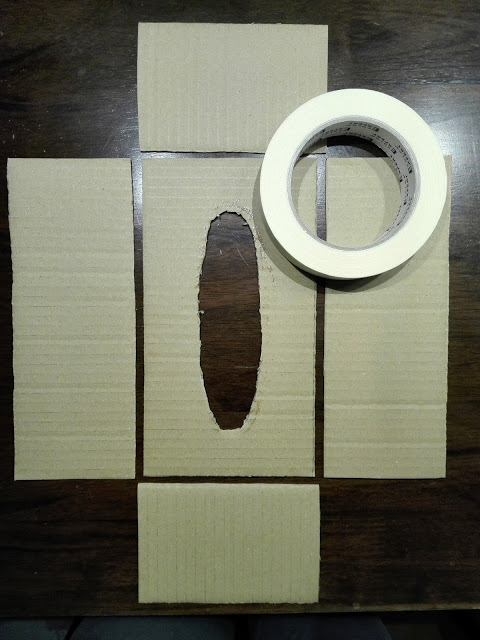
Measure your box, add about 0,5cm on each side and cut these measuments from cardboard. On the upper side, you must cut out an oval shape. It’s better to do before gluing the box together. Here I used the glitter glue, I traced an oval shape and then stamped it on to the cardboard. Then I cut it out with scissors.
Krok 2 / Step 2
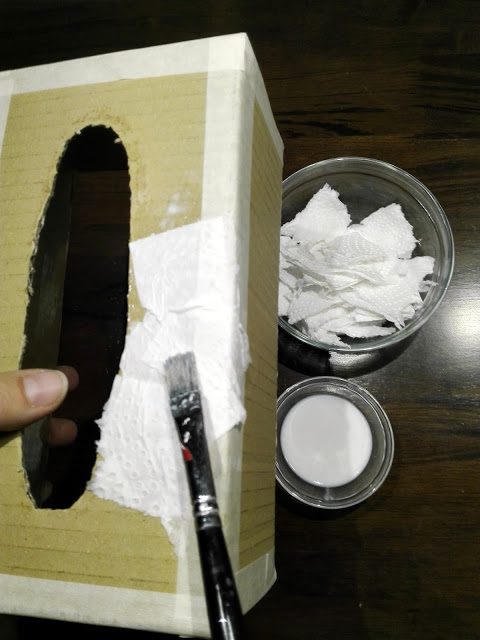
Krok 3 / Step 3
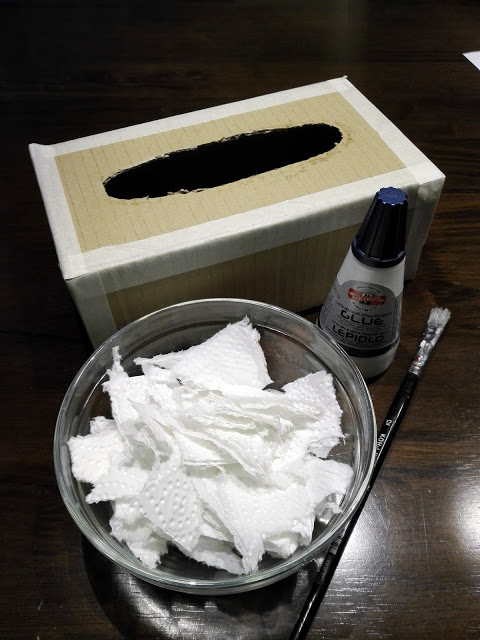
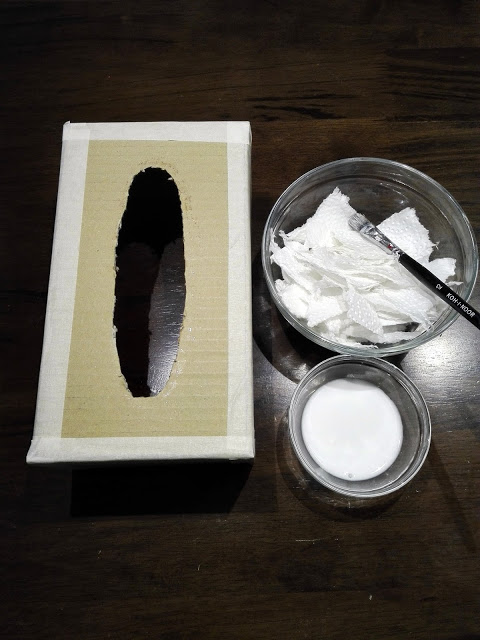
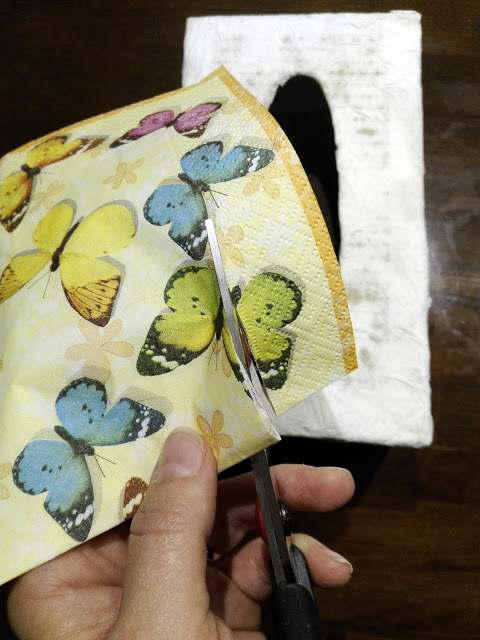
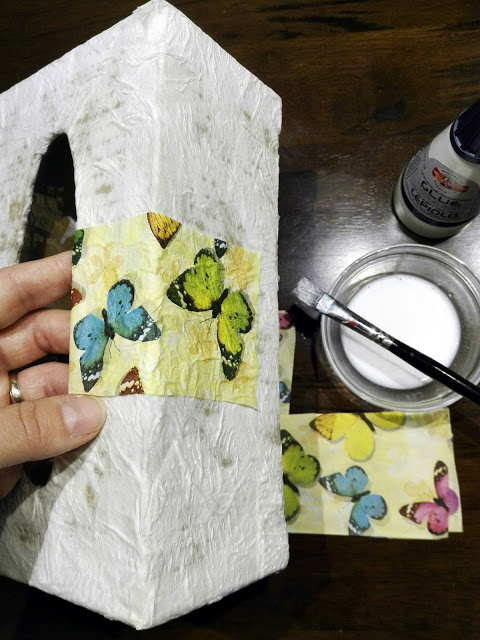
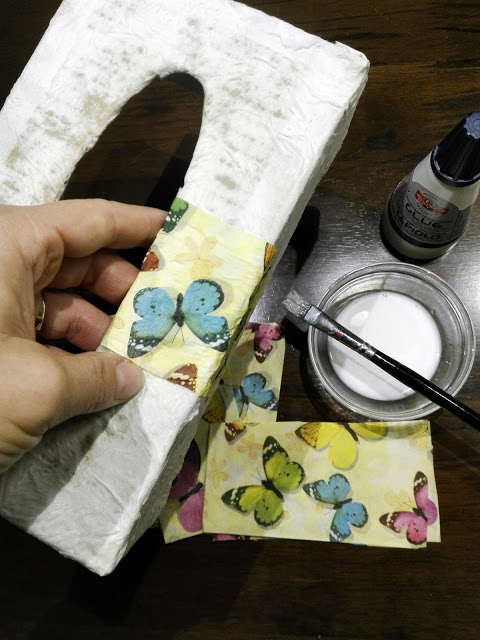
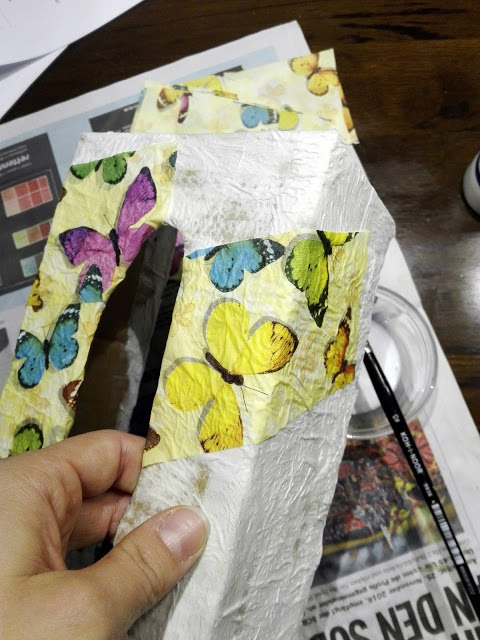
Z ozdobných papírových ubrousků odstřihněte perforované okraje a odstraňte spodní dvě vrstvy. Poté ubrousky nastříhejte na menší kousky. Následně zopakujte krok 2 – pomocí štětce a lepidla nanášejte kousky ubrousků na krabičku. Poté opět nechte pořádně zaschnout.
Cut the perforated edge from paper napkins and remove the two bottom layers. Then cut the napkins into smaller pieces. Then repeat Step 2 – using a brush, apply glue and pieces of napkins on the box. Let it dry properly.
Krok 4 / Step 4
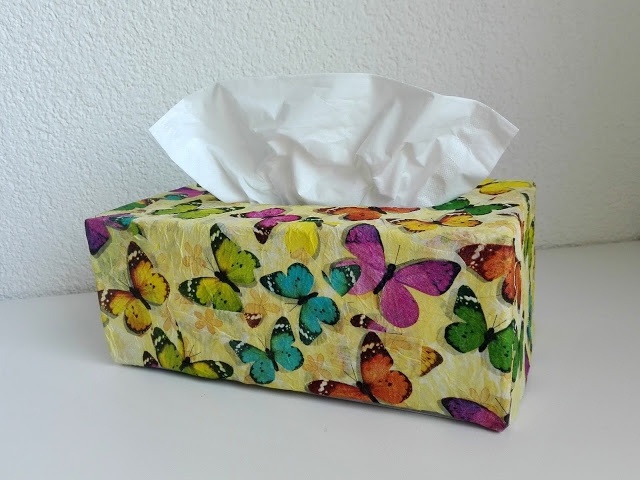
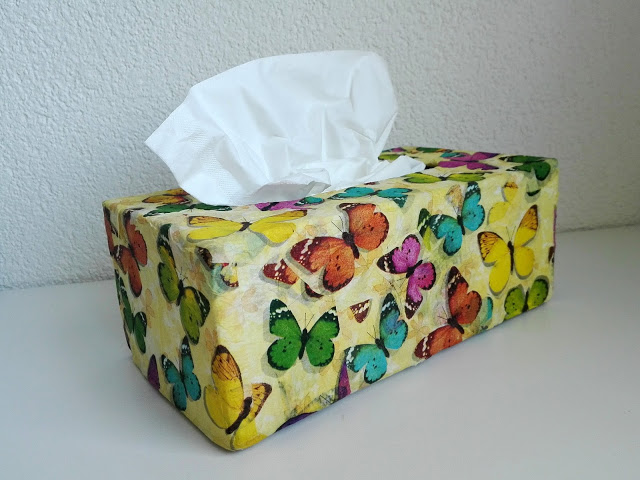
Dokonale vyschnutou krabičku nasaďte na váš box papírových kapesníčků a kochejte se novou ozdobou vaší domácnosti 🙂
Put your properly dried cover box the box of tissues and enjoy your new home decoration 🙂


8 Comments
shinta
15.11.2016 at 8:33Thanks for the tutorial Hana! I am curious if white glue is fine for decoupage or if a special glue needed for it? Looks like a great craft idea
AdinaJustina
15.11.2016 at 8:45Hi, it´s all purpose dispersion glue (for paper, wood, textiles etc.) available in every Coop/Migros. This glue on the picture may seem strange to you, because I bought it in the Czech Republic 😉 However, if you check my "DIY-Minions" post (http://adinajustina.blogspot.ch/2016/02/diy-projekt-mimoni-minions.html), there you can see the glue available in Coop 🙂
Kate Prinsloo
15.11.2016 at 12:22This is a fun idea for my girls to do at home as a craft.
AdinaJustina
19.11.2016 at 9:34I´m sure they´ll love that! 🙂
Tamara Gerber
15.11.2016 at 12:35I wish I had the patience and skill for projects like those. There are so many things one could do with this decoupage technique!
Nice tutorial!
AdinaJustina
19.11.2016 at 9:34Thank you Tamara 🙂
Ashley
16.11.2016 at 21:16Very cute!
AdinaJustina
19.11.2016 at 9:35Thanks Ashley 🙂