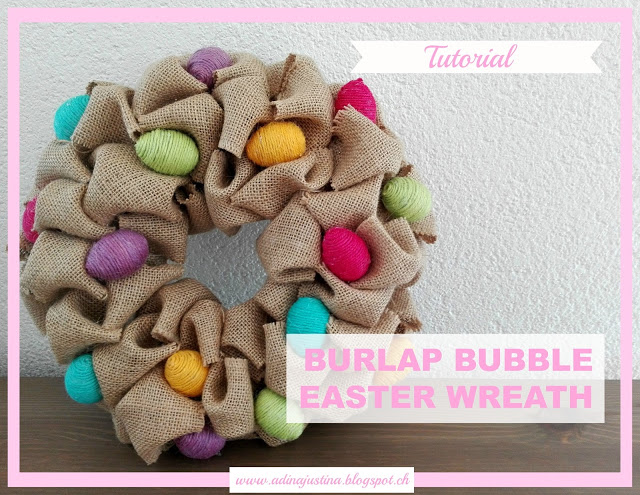
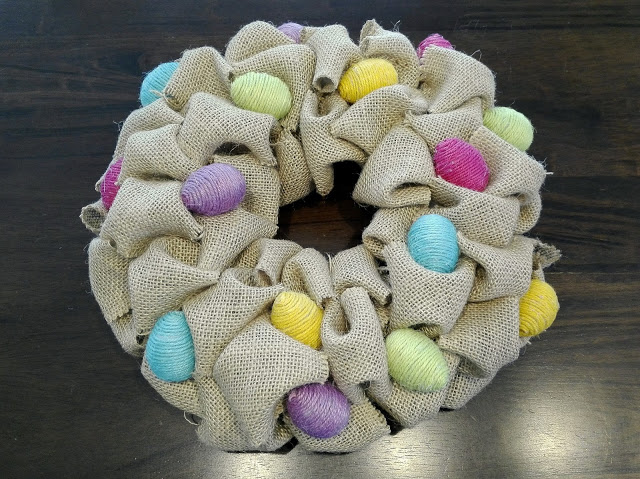
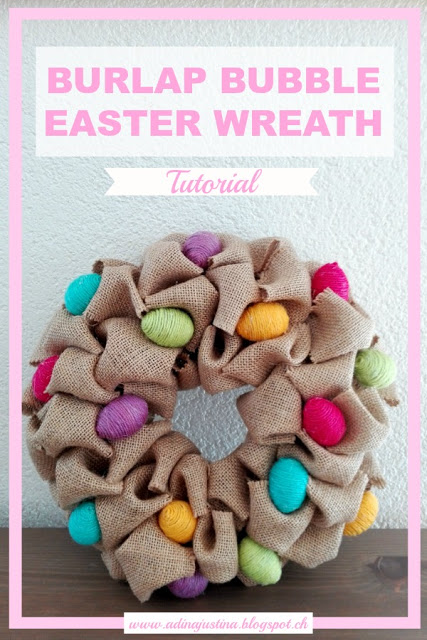
Today I´d like to show you how to make an Easter wreath made of burlap bubbles. You can also make this unconventional Easter wreath if you follow my today´s tutorial.
I found a picture of a similar wreath on Pinterest that I loved but adapted it a little bit and this is what I came up with today.
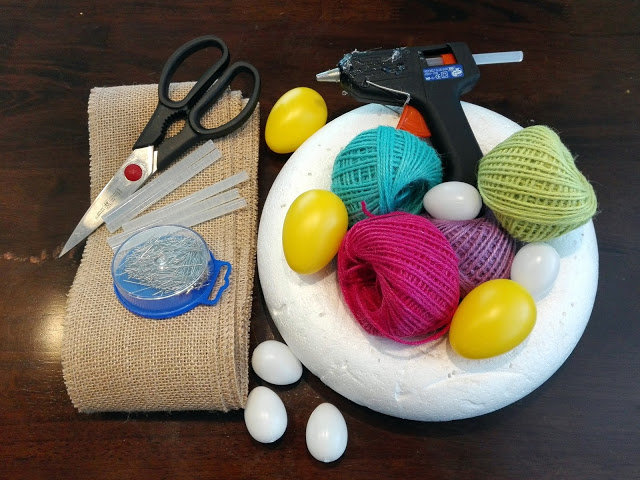
Materials
- Foam wreath form (25cm diameter)
- Burlap ribbon (length: 5m, width: 10cm; ordered here)
- pins with small heads
- Hot glue gun & glue sticks
- Plastic eggs
- Scissors
- Jute twines in various colors (ordered here)*
Step 1
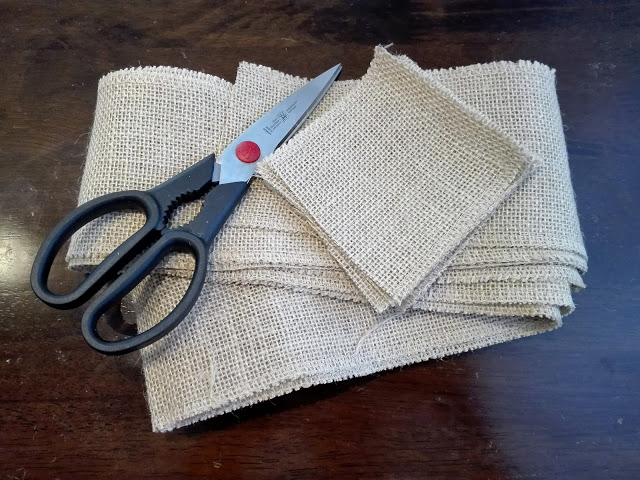
Cut the ribbon into 10x10cm squares, I measured one and then used it to cut all the others.
Step 2
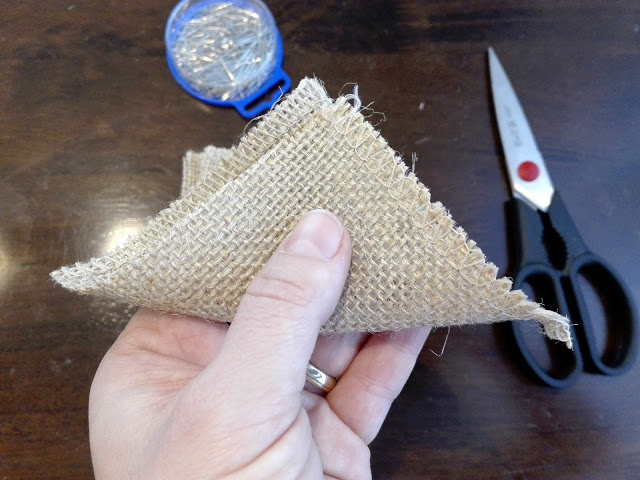
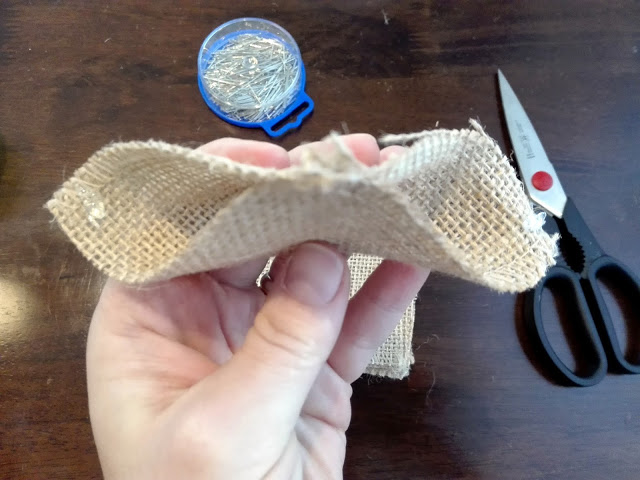
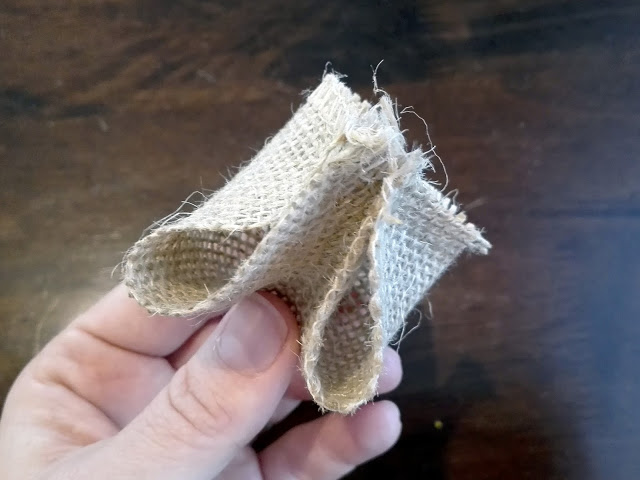
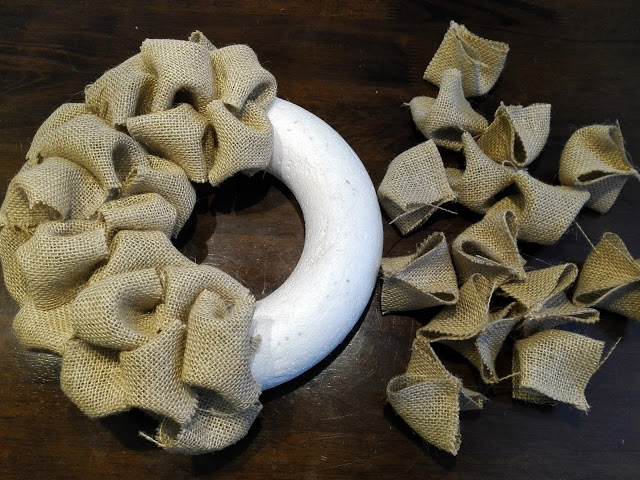
Take each square, fold it corner to corner to make a triangle, put a little hot glue and stick together.
Step 3
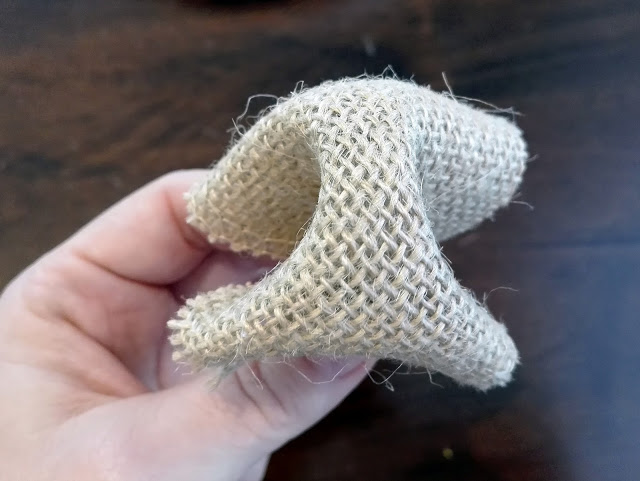
Bring the sides together – put a pinch of glue to each corner, and fold the both sides towards the center of your triangle – and here is your bubble 🙂
Step 4
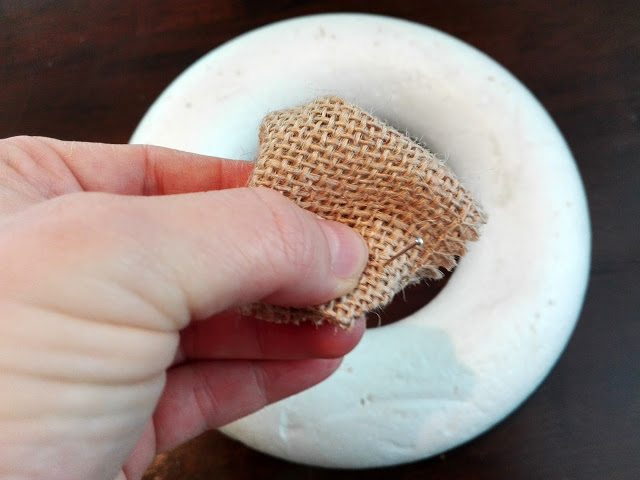
Then you take a pin and push it through the bottom edge and attach it to the form – they go into the foam nicely. You can first wrap a ribbon around the frame if you´re scared that you´ll see white spaces through.
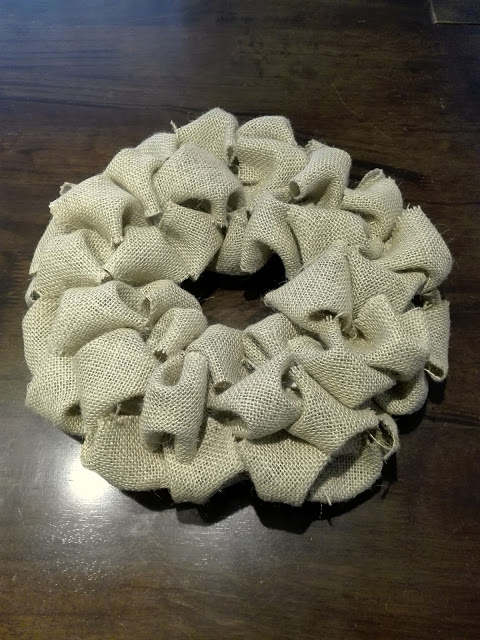
It´s up to you how you decide to fix you bubbles. I attached one to the top and then on each on the outer and inner side of the wreath. Keep pinning your bubbles (that should slightly overlap) until you have covered the wreath – don´t worry, it goes pretty quickly. If I spotted the foam underneath, I just fluffed the bubbles.
Step 5
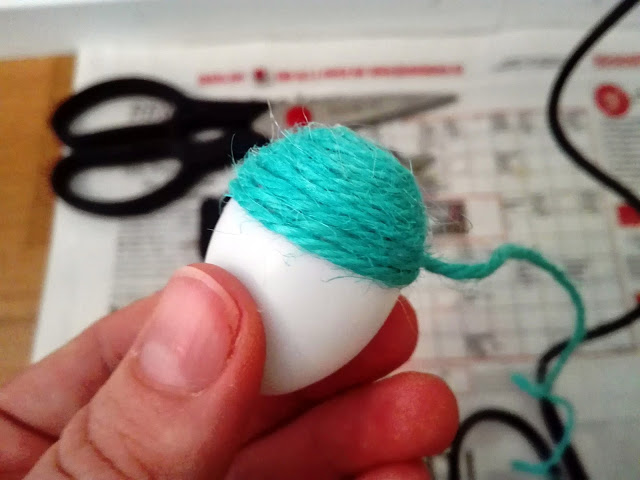
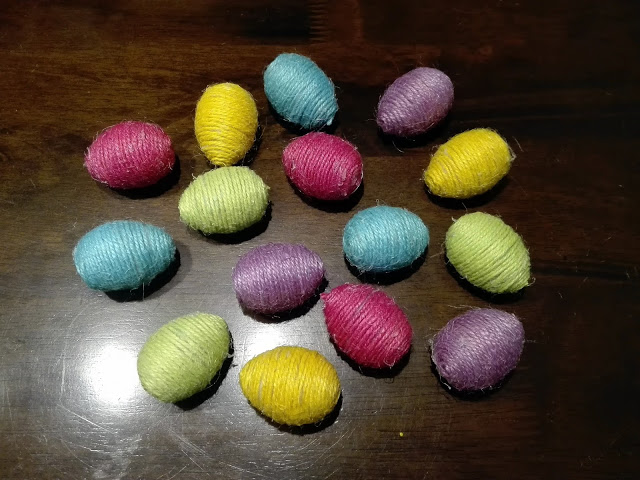
I´ve decided to embellish my wreath with small eggs, that I´ve wrapped with colored jute twine. You may ask why I haven´t used colorful plastic eggs that you could see on the picture with supplies needed. The answer is simple: they were just plastic, and I wanted my wreath to have a more natural look. So I took the same steps like while doing my “Jute twine decorated Easter eggs” and “Jute twine decorated Easter bunnies” projects a few weeks before.
Step 6
To finish my wreath, I used the glue gun to attach the eggs to the wreath. The eggs can fill any little gaps that might be showing the white foam form underneath. So, what do you say? Do you like this wreath?
DON´T FORGET TO PIN THIS TUTORIAL FOR LATER!
If you want to read more of this Easter series please sign up for my blog in the top right-hand corner of this page. Thank you 🙂
I will appreciate any time if you share my posts on Facebook or Twitter. It helps get my blog out to more people, who may like my posts.
And of course, I look forward to reading all your comments.* This post doesn´t contain any affiliate links. But I´m opened for sponsorships 😉



2 Comments
Burlap Bubble Fall Wreath No.2 - DIY by Hanka
27.11.2023 at 13:45[…] detailed description (including photos) of how to create jute bubbles can be found in this Easter Wreath tutorial. The procedure is straightforward: cut the ribbon into 10x10cm squares. Take each square, fold it […]
Burlap Bubble Fall Wreath No.3 - DIY by Hanka
27.11.2023 at 15:40[…] detailed description (including photos) of how to create jute bubbles can be found in this Easter Wreath tutorial. The procedure is straightforward: cut the ribbon into 5x5cm squares. Take each square, fold it […]